WebGL Screen Shot Tutorial
Photograph the Canvas with a Tap
Introduction
This tutorial briefly explains how to display a screen shot
of a WebGL scene on a Web page.
To save a screen shot
call method toDataURL().
Method toDataURL() is part
of the WebGLRenderingContext.
However render the scene immediately before
calling toDataURL().
This ensures
the current view is saved to the drawing buffer.
Assign the String returned
from toDataURL() to the
src property of an image
element on the Web page.
The following listing includes source code for the WebGL screen shot example.
First
create a new
controller and entity.
Second
initialize
responsive interactive features and perspective projection matrix for
the scene.
Third
render the scene.
Fourth and most important, prepare and
display the screen shot
when the user taps the canvas.
Method tapCanvas() responds when the user taps the canvas.
Method tapCanvas() calls
toDataURL() then assigns the
data to an image's src property.
Create Controller and Entity
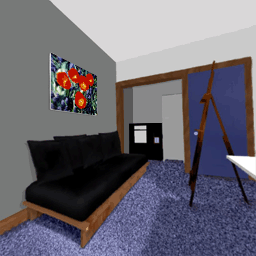
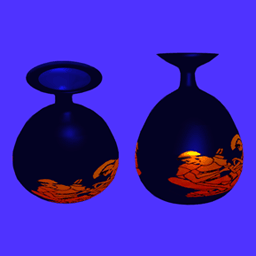
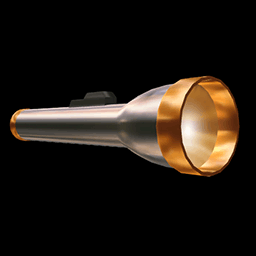
The following source code demonstrates obtaining and displaying a screen capture from the WebGL context.
/**
 New screen shot example.
 @param s: String path
 to an image for
 out environment.
**/
var GLScreenShot = function(s){

// Return if WebGL
// isn't supported.
if (typeof Float32Array === 'undefined'){
 new GLControl(0,null,null,null);
 return;
}

// Create a model
// with cube background,
// square and triangle
// shapes. However
// This screen shot
// example just
// displays the cube
// scene.
var shapes = new ShapesCubeSquareTria();

var aIm = new Array();

// The controller only
// needs one entity
// with a texture.
var e = new GLEntity(s,0);

// The offset
// into element
// array buffer.
e.nOffset = Number(
 shapes.aOffset[0]
);

// Number of shapes
// to draw.
e.nCount = Number(
 shapes.aCount[0]
);
aIm.push(e);


// Default viewport dimensions:
this.nDim = Number(512);


var controller = new GLControl
(
 shapes.aVertices,
 shapes.aIndices,
 aIm,
 this
);

if(controller == null){
 return;
}

};

GLScreenShot.prototype = { ...
Initialize WebGL Features
/**
 Initialize the example.
*/
init:function(
 controller
) {

// WebGLRenderingContext
var gl = controller.gl;

// glDemo == ScreenShot
// object.
var glDemo = controller.glDemo;

controller.glUtils = new GLUtils();
var glUtils = controller.glUtils;

// The cube environment.
var eCube = controller.aEntities[0];

// Rotation speed.
controller.N_RAD = Number(-0.5);


// Sets the
// perspective
// projection matrix.
glUtils.initEnvironment(
 controller,
 eCube
);

// Responds to
// swipes and taps.
var responsive = new GLResponsive(
 controller,
 this.tapCanvas
);

if (responsive == null){
 controller.eDebug.innerHTML = "GLResponsive == null";
}
},
Respond to Tap Events
tapCanvas: function(
 nX,
 nY,
 controller
){
try{
 // Reference to Screen
 // Shot object.
 var glDemo = controller.glDemo;
 var bb = controller.responsive.bb;
 var imTest = null;

 // Render immediately
 // before saving screen shot.
 controller.render(controller);

 glDemo.nX = nX;
 glDemo.nY = nY;

 // Show the WebGL screen
 // shot on the Web page in
 // within an Image element.
 var screenshot = controller.cv.toDataURL();

 // Obtain a reference
 // to an HTML Image
 // element on the Web page.
 var  imTest = document.getElementById(
 'imTest'
 );

 // Assign the screen shot
 // to the Image's src
 // property.
 imTest.src = screenshot;
}
catch(err){
 alert(err.toString());
}
},
Render the Scene
// Render the Scene.
render: function(controller){
var glUtils = controller.glUtils;

// Spin the scene
// around the X and Y
// axes based on
// user input.
glUtils.renderInteractiveXY(
 controller,
 controller.aEntities[0]
);

}
};
